
Gradient fills can add a nice lift to an app’s UI when applied to a view, and can be achieved without much effort. They look even better when applied to text. Also keep in mind that they can look terrible when overdone! This post will cover how to apply a gradient to a view and then how to apply it to text (and other view objects). So let’s crack on…
For starters we’ll create a simple view and apply a gradient fill to it. The gradient works ‘below’ UIKit at the underlying Core Animation layer. It is added to the underlying CALayer in a very similar manner to the way a subview is added to a view, so it should all feel familiar.
let view = UIView(frame: CGRect(x: 0, y: 0, width: 500, height: 500))
let gradient = CAGradientLayer()
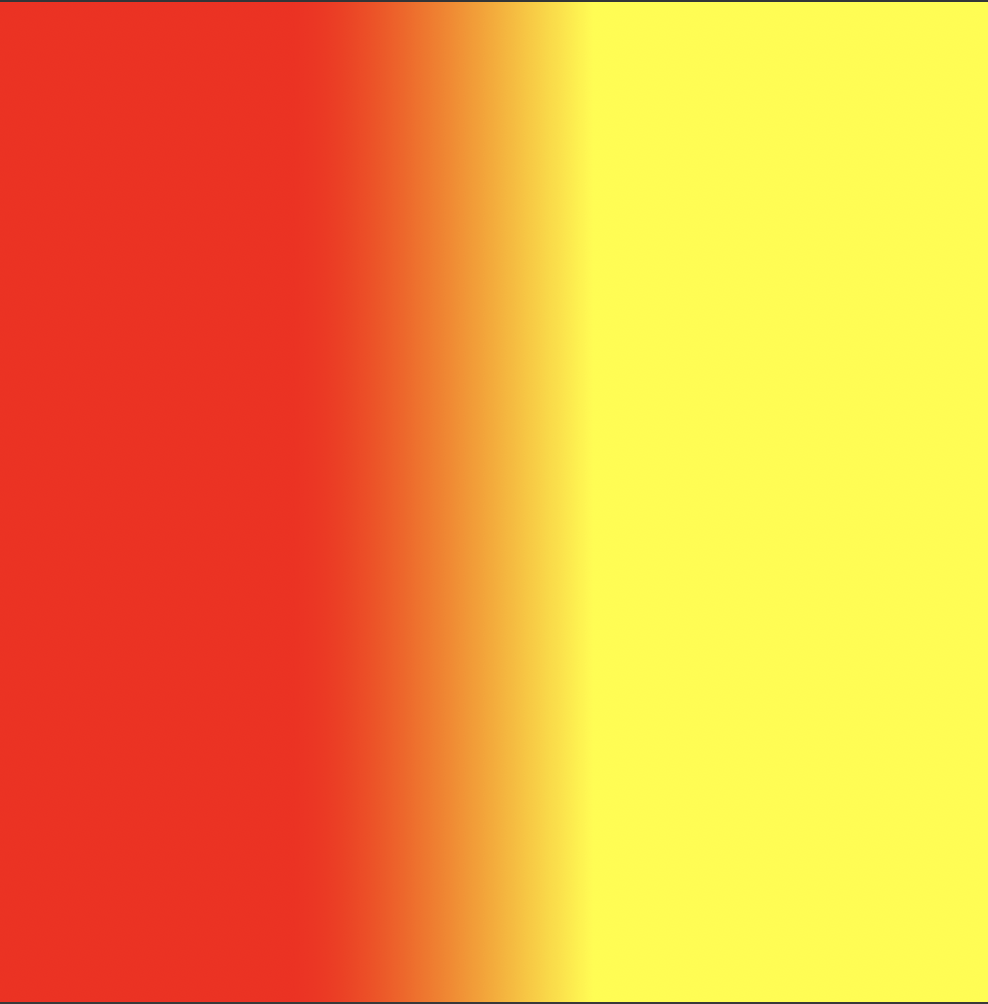
gradient.colors = [UIColor.red.cgColor, UIColor.yellow.cgColor]
startPoint = CGPoint(x: 0.3, y: 0.5)
gradient.endPoint = CGPoint(x: 0.6, y: 0.5)
gradient.frame = view.bounds
view.layer.addSublayer(gradient)In the above snippet we:
- Create a view and define its size.
- Create a gradient object and define the colours the gradient will transition through. The colours are added to the array in the order they’ll be applied to the gradient, from left to right. Note that Core Animation uses CGColor not UIColor – I find the easiest way to deal with this is to work in terms of the familiar UIColors and then just access there .cgColor property.
- Define the start point and end point for the gradient fill relative to the view. The key thing here is that the top-left of the view is (x: 0, y: 0) and bottom right is (x: 1, y: 1) so you are effectively working in terms of percentages of the view, which makes it easy to design and visualise the effect. Core animation will apply the gradient in the direction of the line between the start and end points. So to get a horizontal gradient keep the y value constant, and for a vertical transition, the x. For an angled gradient play with them both 🙂
- Set the size of the gradient to that of the view. As we are working in the terms of the overall coordinate space this needs to be in terms of the views bounds, not its frame, in case the view is offset from (0, 0). In this case it actually wouldn’t matter as the view occupies the entire coordinate space, but when the view just forms part of a larger UI it would, so it’s good to get into good habits now.
- Add the gradient as a sub-layer to the views layer (just like you’d add a subview).
Do all this and you’ll end up with a view that looks something like this:
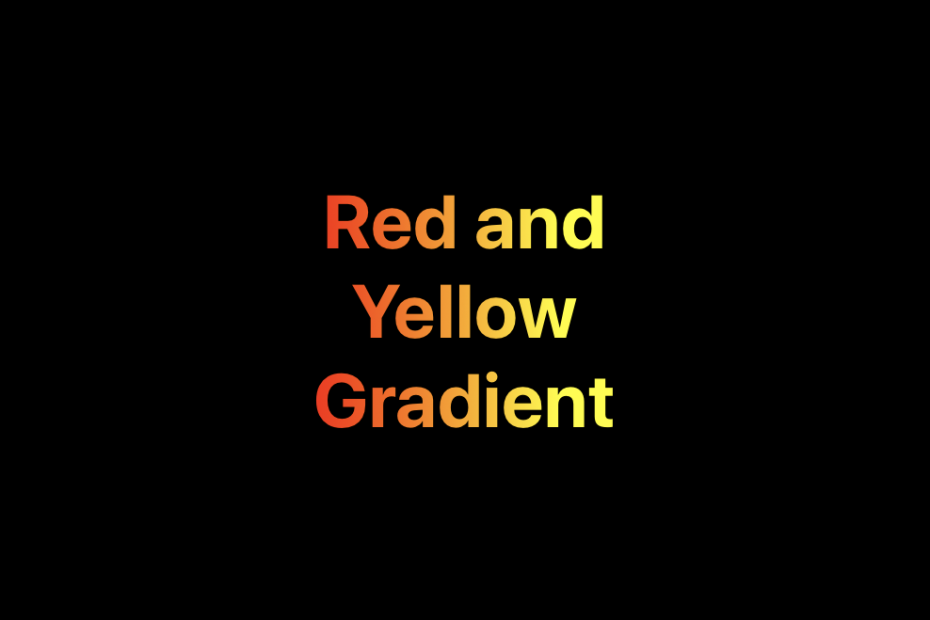
Now that’s all well and good, and might be useful (in a toned-down colour scheme!) for items like table headers and background views, but we can do better :-). Let’s apply the gradient to text for a more interesting effect. This is surprisingly easy to achieve, and takes advantage of the masking capability of UIViews.
let label = UILabel(frame: view.bounds)
label.numberOfLines = 0
label.font = UIFont.systemFont(ofSize: 40, weight: .bold)
label.textAlignment = .center
label.text = """
Red to
Yellow
Gradient
"""
view.addSubview(label)
view.mask = label
There should be very little here, other than the last line, that is new to anyone, but to quickly run through the code:
- Create a UILabel, set the number of line to zero to allow it to display multi-line text, set the font to an appropriate size, and centre the text in the label.
- Set the text to display; here using a multi-line string just to fill the large view
- Add the label to the view
- And the magic … set the label as the view’s mask. This masks out all of the view except for the areas containing the label’s content (i.e. text), where the underlying gradient shines through in all its multi-colour grandeur.
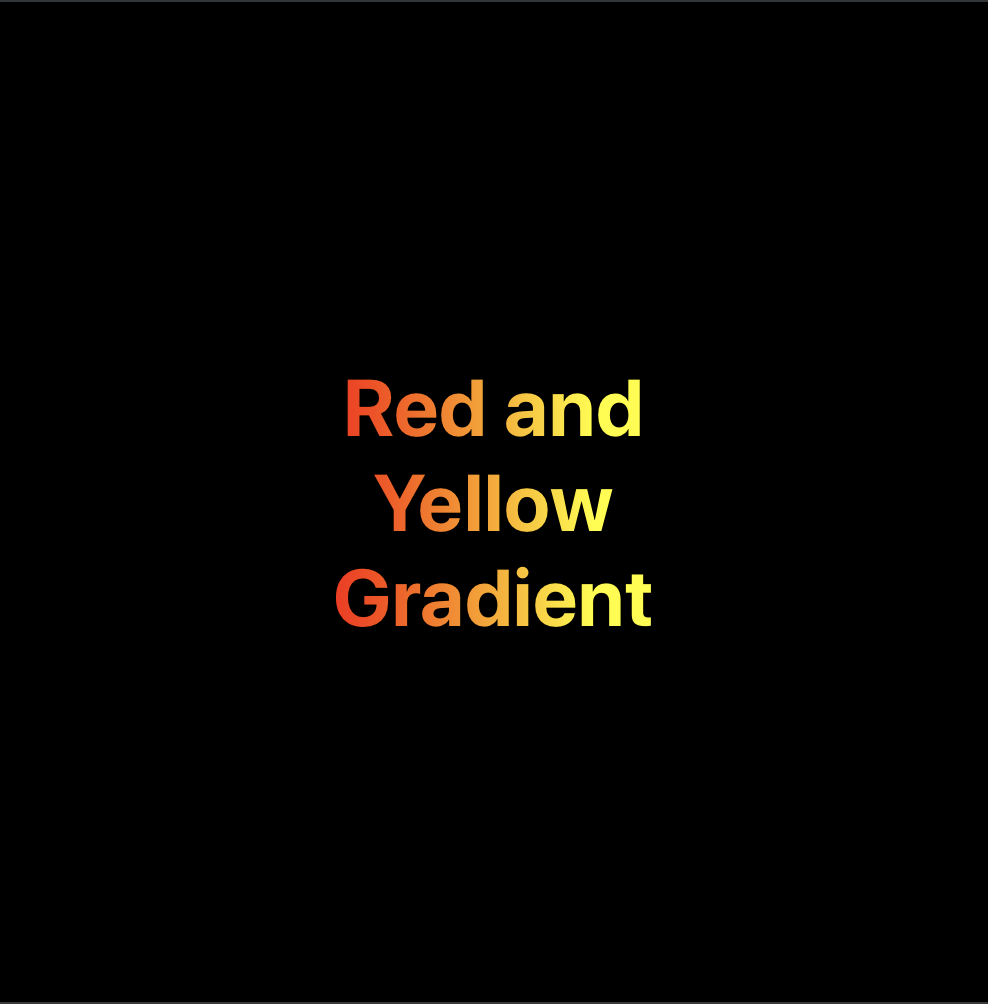
And that is about that. Just to wrap up it’s worth noting that a mask is just another UIView, and that any UIView or sub-class can be used as a mask. Obviously some will work better than others, but go and have a play with some of other UIKit components.